Hobby electronics lab
I organised a temporary place for my hobby when I moved the house. It quickly became a mess because it had no drawers or shelves. So, finally, I’ve decided to build a decent place for my home lab. I didn’t want to spend much money on it, but I needed something very convenient to use. I put it in the post so people can use some ideas for their labs.
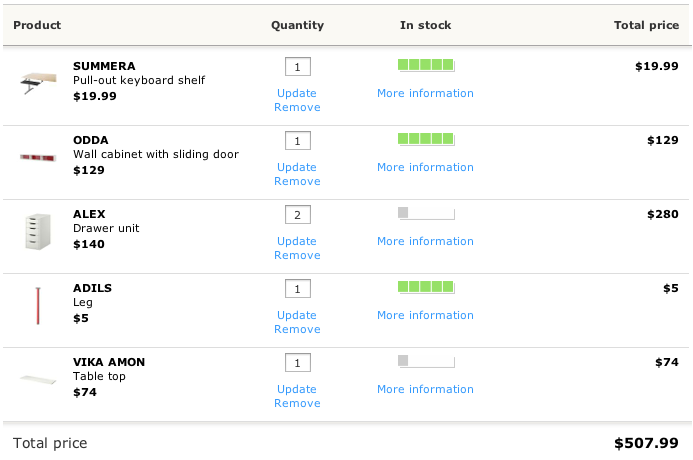
The first thing I’ve chosen is the right furniture. I won’t use the place for any other jobs besides electronics, so I don’t need a strong benchtop. I have a separate area for drilling press, cutting, and so on. So, I’ve decided to go with an ordinary office table. The corner for my lab has a 2m wall, and I want to use all of this. Also, I want to have two table drawers with as many sections as possible. I checked all shops selling inexpensive furniture in the town and found that IKEA offers the best solution. In addition to the table, they have a double shelve of the same length. The drawers that come with the table have five sections each. Also, IKEA offers a pull-out keyboard table for $20, which saves space by removing a keyboard and mouse. The whole set costs about $500, and here are its catalogue numbers:
The lab has to have a computer. It is used for many things like reading datasheets, quick searches on the Internet, FPGA and microcontroller design and programming etc. Also, it can be used with logic analysers and other measurement devices if you have any. As an additional benefit, it also provides some music in the lab.
I don’t want to move my main computer to the lab, and I don’t want to spend money on a second decent computer, so I’m using an old laptop for this purpose. Its specification doesn’t matter much because I can always run heavy or time-consuming tasks on my main computer through the remote desktop connection from my lab using it as a terminal. Its hard drive is not too important because I prefer to keep files on a separate file server in my home network that is backed up daily. I’ve hung an external 24-inch monitor on the wall under the table to save space, and it is an excellent addition to the 11-inch laptop display. An external keyboard and a mouse are essential because the laptop will sit against the wall. Also, I had to make some holes in the shelf for the wires.
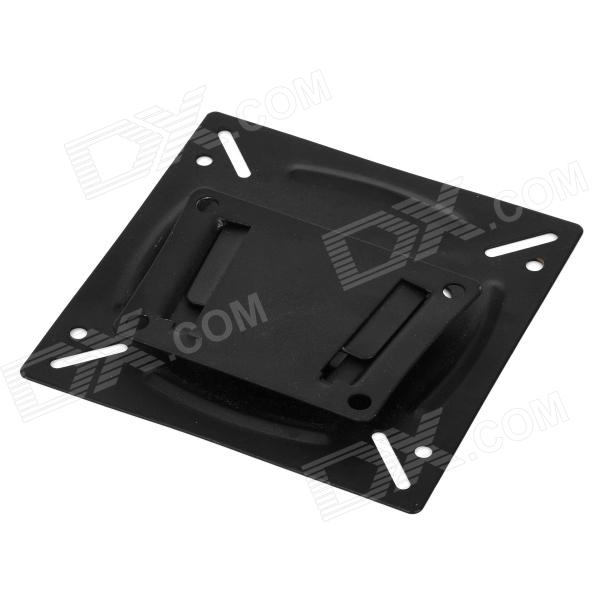
Sometimes I use VGA output in my projects, so I have an old 19-inch monitor for my experiments. I’ve hung it on the wall near my primary monitor as well. For both monitors, I’ve used cheap brackets that I bought from dx.com:
They are very flat, but I wouldn’t hang anything heavy. A 24″ monitor probably has the maximum weight for them.
My power supply unit is too big for the shelf, but the oscilloscope and other equipment will be allocated there.
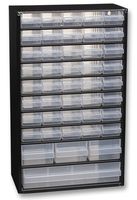
For components storage, I’ve bought two 44-drawer units on element14.com. They had a special of about 30$ for each with free delivery, so it would be a shame to miss. Each drawer can be divided into several compartments, but these dividers are expensive, so I bought a 1.3mm (1000 gsm) cardboard in my local stationary shop. I’ve paid $8 for two sheets of it which is enough to divide each drawer into three compartments. Each compartment is for one value of a resistor or capacitor. Non-E24 standard values can be stored in one big compartment in labelled bags because they will not be used often. The drawers’ labels can also be purchased, but I just printed them out and laminated them. You can download my file with tags here as a template. It is the photo of the cabinets:
Another consideration is having enough power points near the desk because a lot of equipment will require a power supply. Some equipment needs a constant power supply. It is the computer, light etc. A usual six-socket power board can be used for this purpose. Other equipment should have a separate switch, i.e. development boards, power supply units etc. Some power boards on the market have different buttons for each device connected to them. I’m going to choose six sockets one like this:
A specific equipment group, such as a solder iron or hot air gun, should have a main switch to turn it off from the main power each time the work is finished. It is essential to have this option for safety reasons. This power board has to have a main switch with a bright light, so if you are leaving the lab, you can see if you forget to switch it off. It will reduce the chances of leaving a hot solder iron unattended. Some lovely power boards on the market have a “master” socket and four “slave” sockets. The idea is that when a device in the “master” socket consumes power, the “slave” sockets are turned on. But as soon as the “master” device is turned off and stops to consume energy, the “slave” sockets are also turned off automatically. I’ve connected my table lamp to the “master” socket and the soldering iron, hot air etc., to the “slave” sockets, so when I turn off the light, all equipment is turned off, reducing the risk of being left unattended. I use this board by the same manufacturer:
All three power boards are fixed to the side of the desk or on the wall, so it is convenient to use them.
Here is a photo of my lab:
See you!
