How to add bluetooth music playback in a car
The multimedia centre in my car is quite helpful – it features a built-in GPS navigator, a rear-view camera, an MP3 player and several other handy functions. However, its greatest weakness is the inability to play music via Bluetooth. The only supported option is the hands-free Bluetooth phone connection mode. To be able to listen to music on the phone, it must be wired to the audio port in the media centre.
I like listening to audiobooks on the road and during my daily morning walks, and I use my smartphone for this purpose. This is why I must continue listening to my books in the car in the same spot I left them off. This is why having a second book copy on a disc will not work. The Android smartphone can connect to different devices for different purposes. For example, it can connect to the car’s hands-free module for conversations and to the A2DP module to play music and even determine where to send each signal. This way, during an incoming call, it stops the music and switches to the hands-free module until the conversation is finished before switching back to the music on the A2DP device.
As you can see, we have all the conditions to add the ability to listen to audiobooks in the car. All that is left is to build the A2DP module to connect to the audio port in the media centre. The power for this can be taken from the cigarette lighter socket since I never use it, and it is placed in a convenient location for this project. Because of this, I plan to put my device inside it.
What we will need:
- A case (about the socket size) with a built-in plug for the cigarette lighter.
- An A2DP bluetooth module.
- A power supply. A highly effective (non-linear) and quiet one is recommended.
- An isolator for breaking the ground loop, which is formed by the power of the cigarette lighter socket and generates a large amount of background noise.
So let’s look at all these elements in more detail.
The Case.
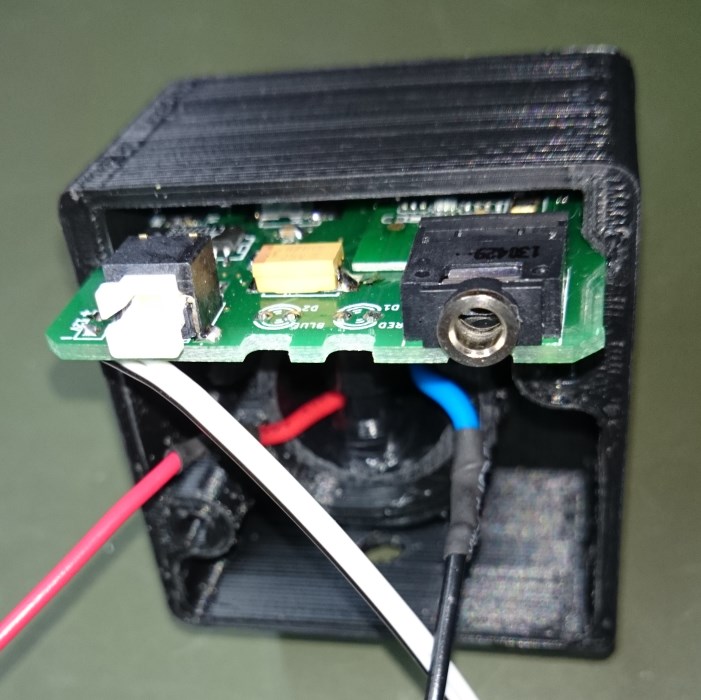
I printed the case on a 3D printer with its required ability to be placed into the socket in mind. This is how it looks with the board installed (as you can see, lacking a face plate):
I ordered, on dx.com, this plug, which is cut off immediately above the anchoring hole and is fastened via this opening to the case (SKU: 183318):
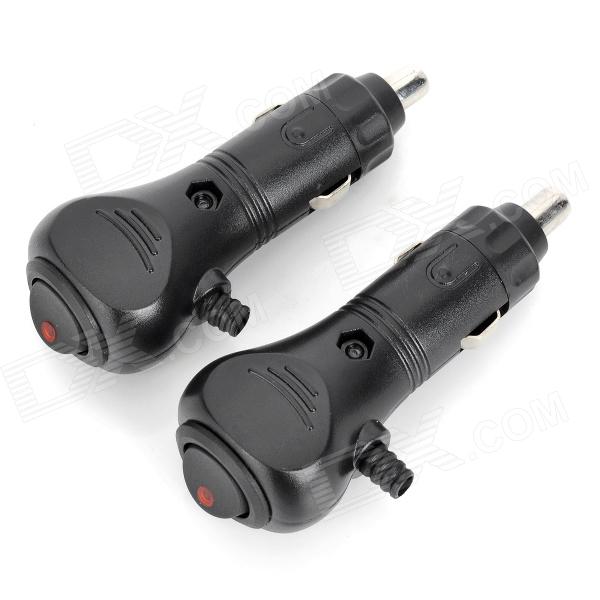
The switch for the plug is not thrown away but installed on the face plate on the case. For this, I lengthened the wires emerging from it. I also replaced the 10А safeguard, which was in the plug, with a 0.25А one for safety – my device does not use more than 50мА.
These are the files for the case in the STL format: bluetooth. The case and the board were modelled after the cigarette lighter socket size of the Mitsubishi Pajero (model of 2012). If you want to replicate this case, I recommend increasing the size of it since it does not fully reach the edges of the socket, which can sometimes lead to the loss of contact due to tilting.
The power supply is mounted onto the circuit board and placed into the cut inside the case. A switch, a 3.5mm audio exit port and a pause button are all mounted on the face plate. Initially, I planned to include indicator LEDs but later abandoned the idea.
A2DP модуль.
The module I chose, the XS3868, is quite well-known and requires minimum binding. It can be purchased on eBay for $5-6. The problem is only in the lack of good documentation on the module.
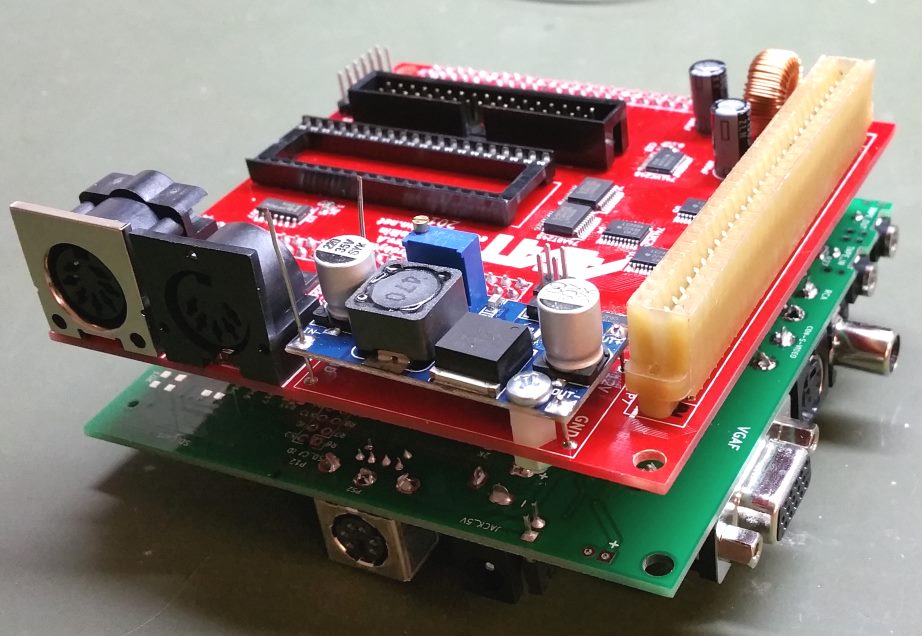
The documents on the internet, as well as the information supplied by the manufacturers, are incorrect. For example, this connection schematic is false:
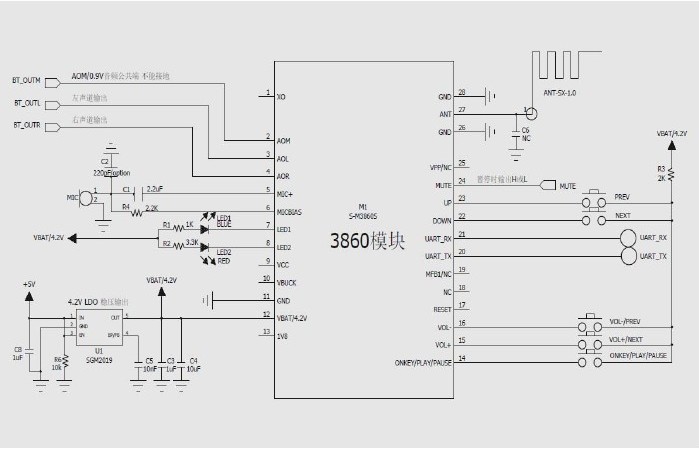
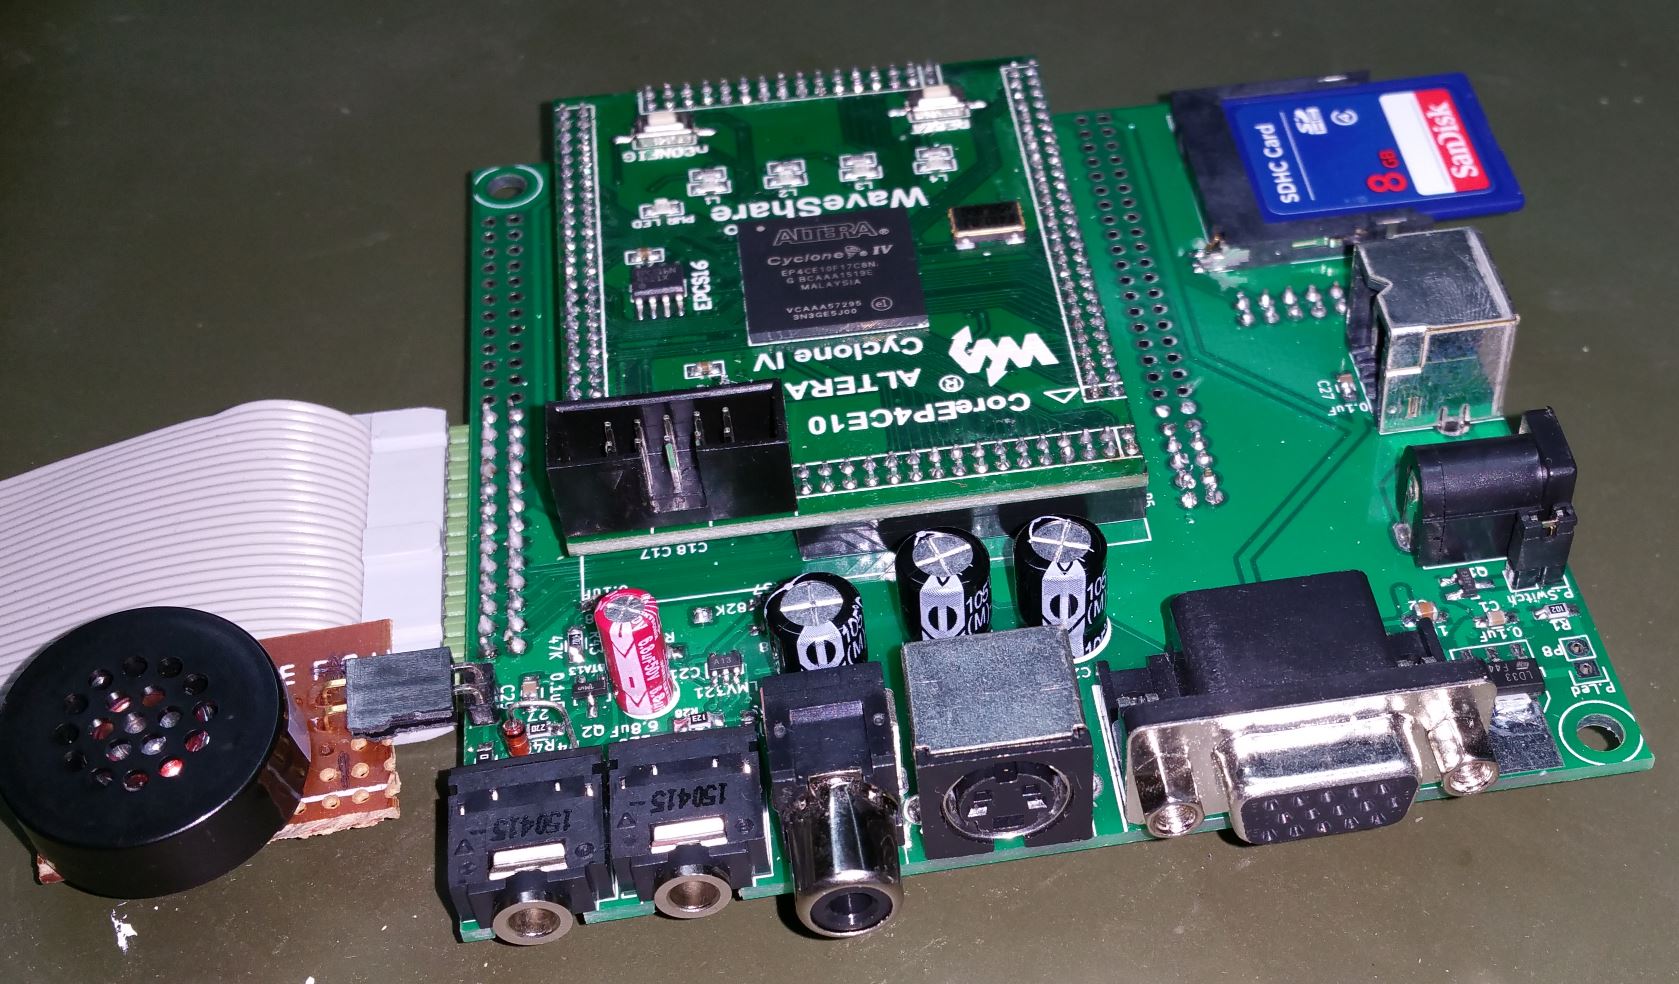
The ground must be connected to pin 20, not 21. The buttons are also mixed up. It took me one burnt module and a few weeks of waiting for a new one to discover. And, of course, the required modification of the board with the help of a scalpel and some wires:
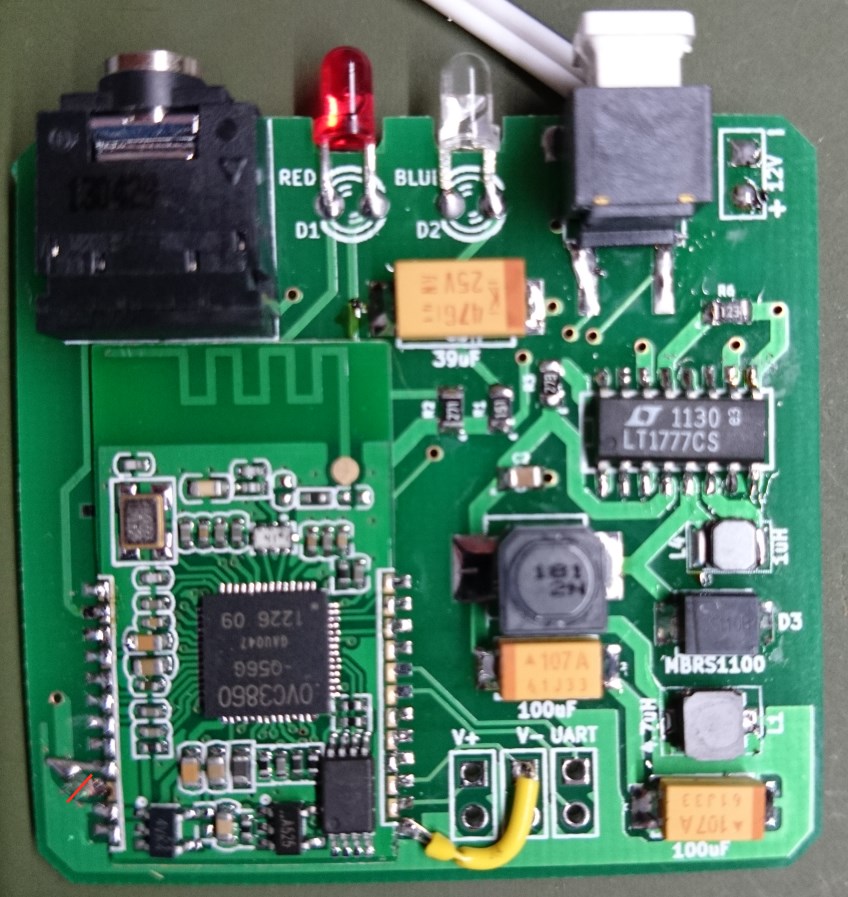
The red line marks the spot of the cut ground pin. Above, it can be seen that the neighbouring pin is soldered to it instead.
The buttons also don’t match, and I had to find where to hook up the pause button (‘push style’). This is the schematic of my device (no modification):

If you want to replicate this, don’t forget to change its connection to the module.
At default, the module is turned on at maximum volume, which is suitable for connecting to an amplifier, but you must be careful about using headphones. Since I use this device only to listen to audiobooks, I do not need other buttons except the pause button, so I cannot verify their correctness.
The sound quality of this module is relatively high, but it probably will not satisfy hardcore music lovers.
Ground Loop.
Since the module is powered by the car’s circuit and is connected to the same ground as the media system, a ground loop is created in which the car’s generator forms a whining background noise and depends on the engine’s RPM. It does not interfere with the listening but is, in general, very annoying. You can find more on this on Wikipedia.
The simplest method to get rid of this is to break the loop. This can be achieved with an isolating transformer without a coefficient of increase or decrease (its primary and secondary windings relate 1:1). It is installed between our module and the car’s media centre. Ready-to-install devices like these can be bought on eBay for $5-10. Since the AUX inlet in my vehicle is positioned in the glove compartment and is consisted of RCA ports, I found a transformer with RCA inlets and outlets and placed it in as well: http://www.ebay.com.au/itm/AV-Link-201-086-Gold-Plated-Connectors-Ground-Loop-Isolator-RCA-to-RCA-60cm-/121511856330? After installing it, the wailing was entirely silenced.
Power Supply.
To power the module, 4V are needed. The voltage in the car’s circuit alternates between 10V and 14.5 V. The easiest way to lower this voltage to 4V would be to install a linear converter (like series 1117) since they give a good output voltage quality but are ineffective, leading to their overheat. This depends on the current and voltage. The current in my device is small (less than 100mA), but the voltage drop can consist of more than 10V (14.5V – 4V). This means that the converter should dissipate about 1W in energy. In the car, the surrounding temperature can be pretty high from the sun or the heater, as well as the fact that the case of the device limits the ventilation of the converter, led me to use a pulsed power supply. This system does not have problems with overheating, but it can cause problems with the sound quality.
I chose a converter IC with an ultra-low noise level LT1777 and installed power filters. This solution was relatively expensive (more than $10 for the separate parts of the power supply against the $0.5 of a linear converter) but secured me from the problems of cooling and interference. You can probably use cheaper step-down converters since the module XS3868 already has a linear converter, which will smoothen the sound, but I decided to keep it safe.
I am pleased with the result – the board does not heat up or make additional sound interference. The only problem was that, at first, the device did not automatically connect to the phone after being turned on. As a result, I had to do that manually, although, after a few days, the problem disappeared completely. This is how the device looks like when it is correctly installed into the car:
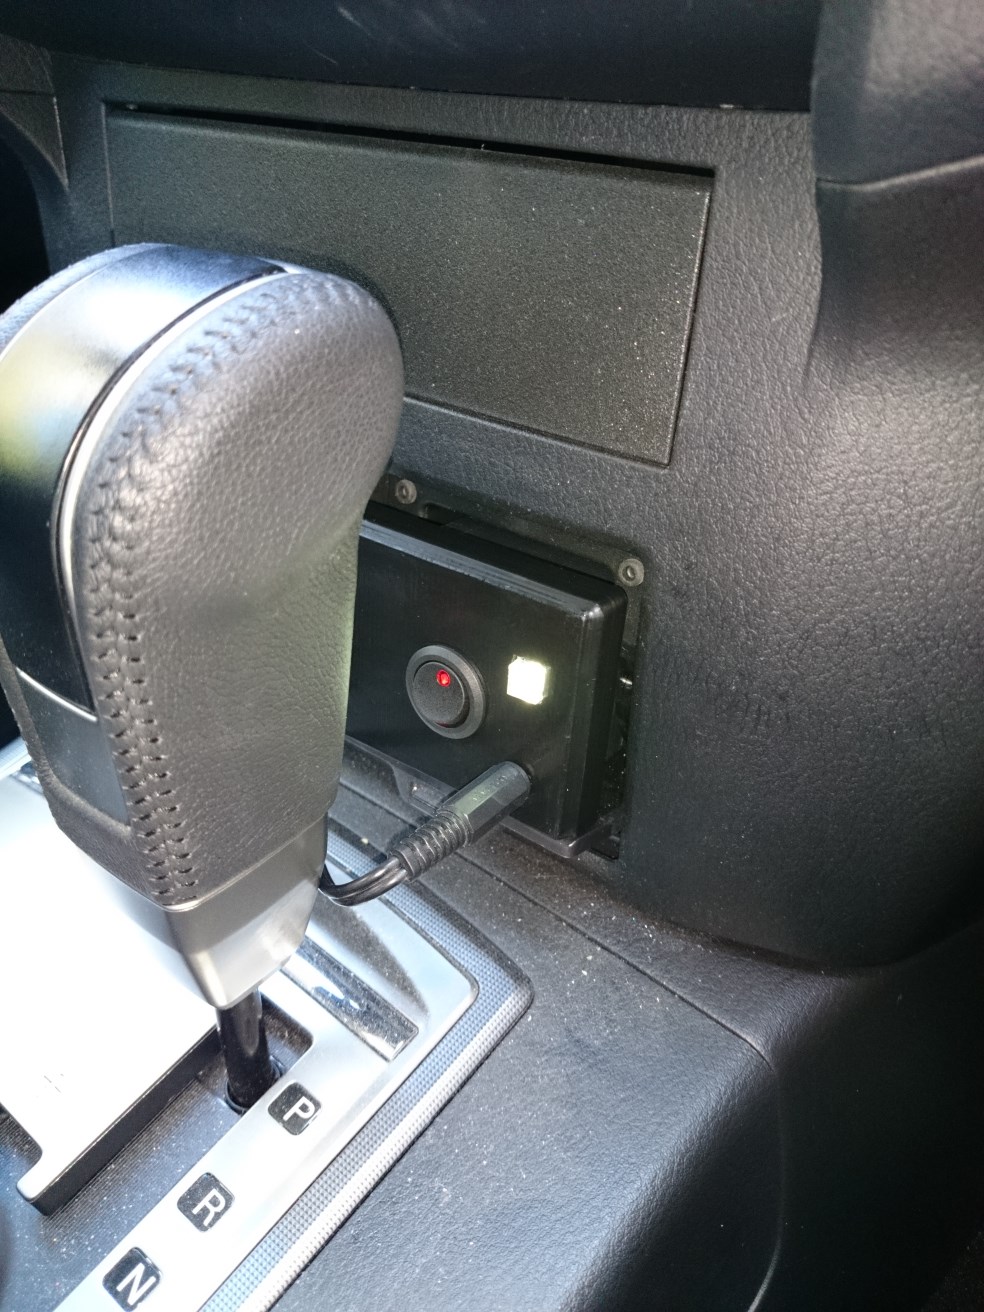
The audio wire, which is connected to the device, goes away into the glove compartment.
That’s all. ‘Till next time!