UT-88. MONITOR-F for the complete configuration
In the previous post, we learned how to launch the computer in complete configuration. Let’s see how it works and what commands MONITOR-F has.
As you remember, Monitor-F can be launched from address F800H using the command 7 F800. MONITOR-F setups stack pointer, initialise some constants and variables in memory and makes keyboard initialisation.
After that, it displays «UT-88» on the screen (it is “ЮТ-88” in Russian). An arrow and cursor on the screen means the computer waits for a command to enter. MONITOR-F commands are in the table below. They all consist of one letter with hex parameters divided by commas. The «ВК» button (“Enter”) is pressed at the end.
| Command | Parameters | Description |
|---|---|---|
| D | ADR1, ADR2 | Display memory range in hex format |
| L | ADR1, ADR2 | Display memory range in character format |
| K | ADR1, ADR2 | Calculate control sum of the memory range |
| F | ADR1, ADR2, Const | Write a constant to each memory cell of the range |
| C | ADR1, ADR2, ADR3 | Two memory ranges comparison |
| T | ADR1, ADR2, ADR3 | Copy a memory range to another address |
| S | ADR1, ADR2, Byte | Search a byte in a memory range |
| M | ADR | Display and change a memory cell |
| V | – | Change a constant of tape reading. |
| G | ADR | Launch a program from the address |
| W | – | Launch a program from C000H |
| X | – | Display and change the CPU registers |
| O | ADR1, ADR2, Const | Write the range to tape |
| I | ADR, Const | Read data from a tape |
| B | – | Show time on 7-segment indicators of minimal configuration |
| R | ADR1, ADR2, ADR3 | Read data from ROM range ADR1, ADR2 to RAM starting from ADRЗ |
Command «D» displays a memory range in a two-digit format as a table. Press “D”, start address, “,” (comma), end address and «ВК» (“Enter”).
Command «L» is similar to the previous one but shows characters instead. If a code doesn’t have a corresponding character, “.” (dot) is displayed.
Command «М» allows to show and change one or several memory cells. When the command and address have been entered, a two-digit hex number is shown, which is data from the memory cell. If «ВК» is pressed, the cell won’t change. It is possible to type in another two-digit number instead, and it will replace the existing one after «ВК» is pressed. To exit, the command “.” (dot) can be pressed.
Command «F» writes the same code to each range cell. Press “F”, start address, “,” (comma), end address, “,” (comma), two-digit hex number to be written to the range and «ВК» button.
Command «Т» copies a memory range to another address. The start of the range, end of the range and start address of the copy, all divided by a comma, are typed in after the command. As usual, the «ВК» button has to be pressed at the end.
Command «С» compares two memory ranges. If the data is different, an address from the first range and data from mismatched cells are displayed.
Command «S» searches a byte in the memory range. As a result, the list of addresses that contain the byte will be displayed.
Command «К» calculates the control sum of the range. The sum is displayed as a four-digit number.
Command «О» is used to write data to the tape. The constant in parameters is for output speed. It is an optional parameter and can be ignored. In this case, a previous speed will be used. If it is the first tape output command after reset, then the standard value that is stored in cell F7D0H is used. Please ensure a tape recorder is on before you press the «ВК» button at the end of the command. When the output is completed, the start and end addresses and the range’s control sum are displayed.
Command «V» is used to calibrate input speed from a tape. Turn on the tape recorder to play and press «ВК» after the command as soon as a program starts. A measured constant will be displayed and recorded in cell F7CFH.
MONITOR-F, as well as MONITOR-0, can link program executions to real-time clock. Switch SW[6] on the DE1 board must be turned on. There are two modes in case of simultaneous use of both monitors. The first mode uses MONITOR-0. Clock setup straight after the computer is turned on. MONITOR-F is launched after that. Command “B” can be used to display the current time on 7-segment indicators, which are stored in cells C3FDH, C3FEH, C3FFH. The second mode uses only the MONITOR-F clock subroutine. In this case, the current time is stored in cells F6FDH—seconds, F6FEH—minutes, F6FFH — hours. Launching the subroutine in MONITOR-F clock must be checked in MONITOR-0 before switching to full configuration. Then in MONITOR-F, the following codes need to be loaded with command “M”: C000H—F3H, С001Н—СЗН, С002Н—00Н, С003Н—F8H, С038Н—СЗН, С039Н—С1Н, С0ЗАН—FFH, F6FDH—00Н (seconds), F6FEH—(minutes), F6FFH—(hours). Then switch RAM from С000—C3FFH to 0000—03FFH, turning off MONITOR-0 with SW[2]. Then the “RESET” button must be pressed, which will run a real-time clock in full configuration.
But what happens if we try to read or write data from/to a tape when timer interrupts are on (SW[6])? MONITOR-0 commands «9» and «А» for operation with tape need to be used carefully because MONITOR-0 doesn’t turn it off during these operations, which can lead to errors. So, it is better to turn it off manually by SW[6] before these operations. MONITOR-F can turn off timer interrupts when commands «O» and «I» are executed, but it leads to real-time clock distortions. After each tape operation, they can be corrected using the “M” command.
Be aware that the tape output format in MONITOR-0 is different from it in MONITOR-F and the control sum calculation method.
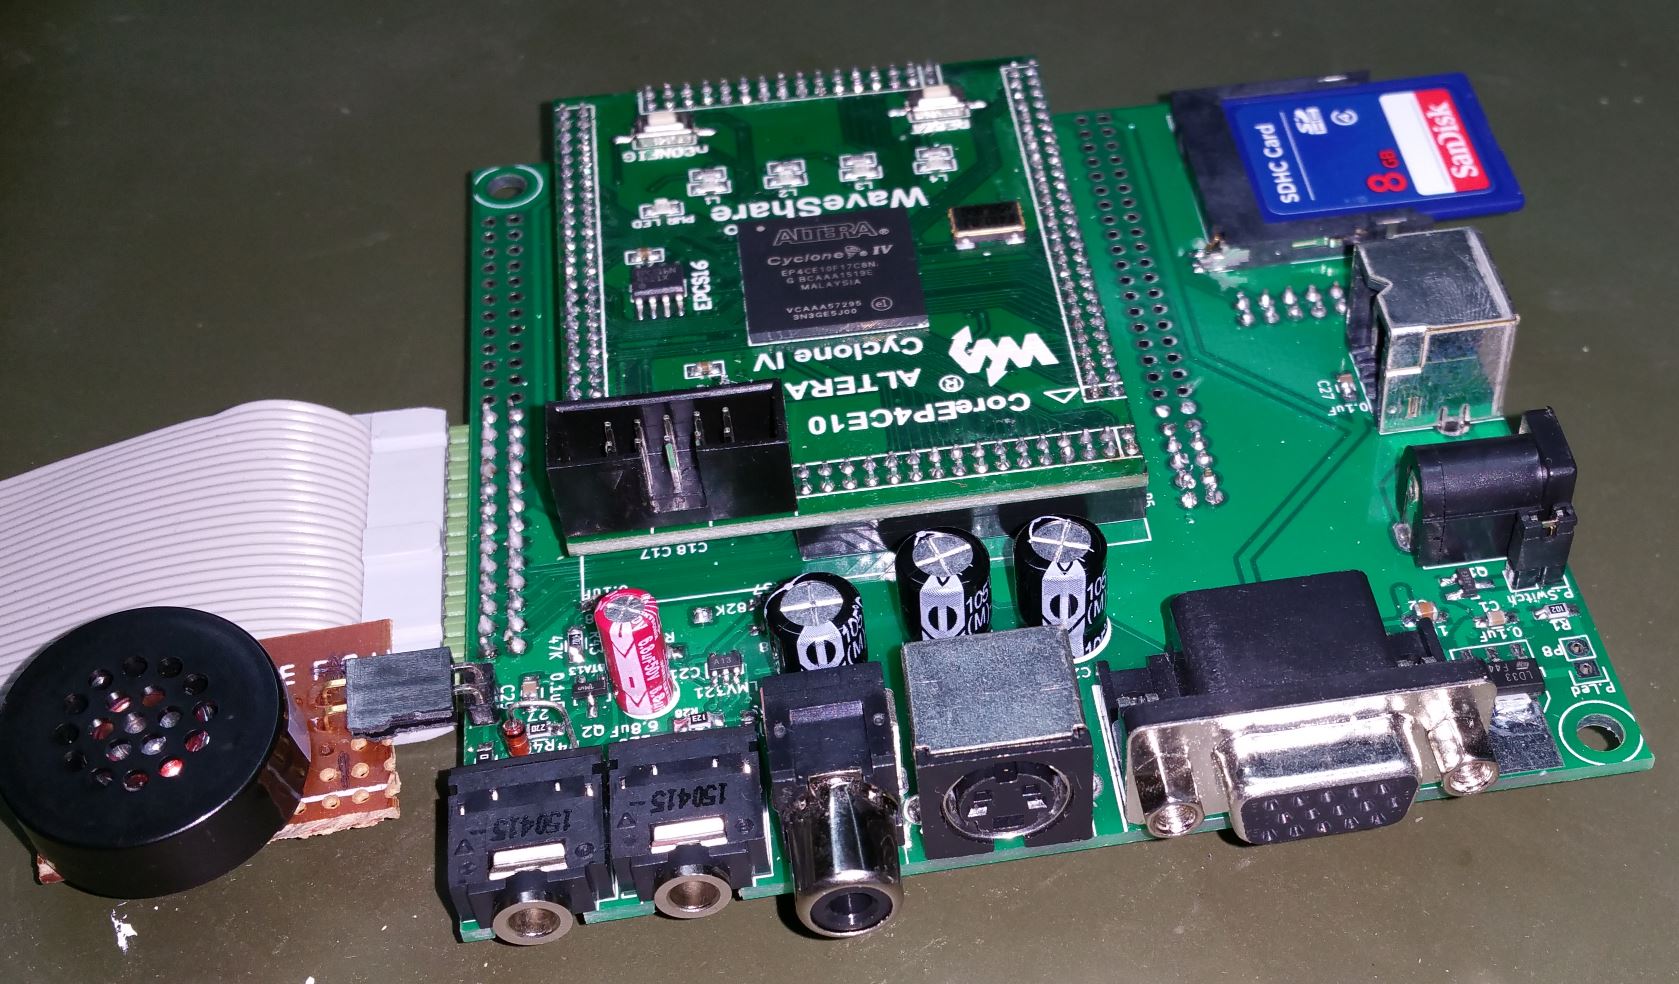
MONITOR-F also uses a LINE OUT jack to produce a sound for each pressed button. You can connect headphones to the jack to hear them. But, please, be careful – the sound is quite loud. It is better to use headphones with built-in volume control.
There was an operating system called “UT-88” for this computer published in one of the magazine issues, but it wasn’t popular because the listing contained some errors. It can be downloaded here: OS UT-88.
CP/M, which was ported to the computer, was popular because of the number of programs created.
Great! Let’s launch this operating system on this computer. Please wait for my next post. See ya!


